
Another area of interest that I started to dabble in since I was introduced to it in 2009 by a very good friend, is Steampunk, which is a pretty neat subcategory of Science Fiction that in itself has quite a few different settings/genres that all revolve around the mass use of Steam Power. There normally is a vast amount of gears, brass, and “antique” looking items typically within the Victorian era, but this can vastly change depending upon whichever era that it is placed in. This is a vague summary of it really since it is such a broad category, but the whole concept in itself is really neat.
So after my friend introduced it to me in 2009, it kind of fell into a bit of a lull with just looking up some artwork here and there as well as some things that folks had made. This lull lasted for a couple of years until summer of 2011 when I reacquainted with some friends that were into it as well, and rekindled my interest in the subject matter by quite a bit. Between then and now (summer of 2012 as of writing this), many upon many discussions/ideas for costumes and accessories had been tossed around ultimately creating the plan to cosplay our entire group at an upcoming convention – most of them did it the year prior, with it now becoming a larger group. So, with several great suggestions from friends, I set off to create an outfit. However, no outfit is complete without a trusty weapon of choice!
Now, my painting experience is pretty low; I can do it digitally with a keyboard and mouse, but when it comes to physically painting is where it gets hazy. Still, I decided to take a whack at this and see what I could come up with. Fair warning! This is a very image heavy post!!
The Gun of Choice
The first thing was to figure out what kind of gun I wanted to try and make. Remembering some neat Steampunked Nerf Guns that I had seen in the past, I settled upon the Nerf Maverick.
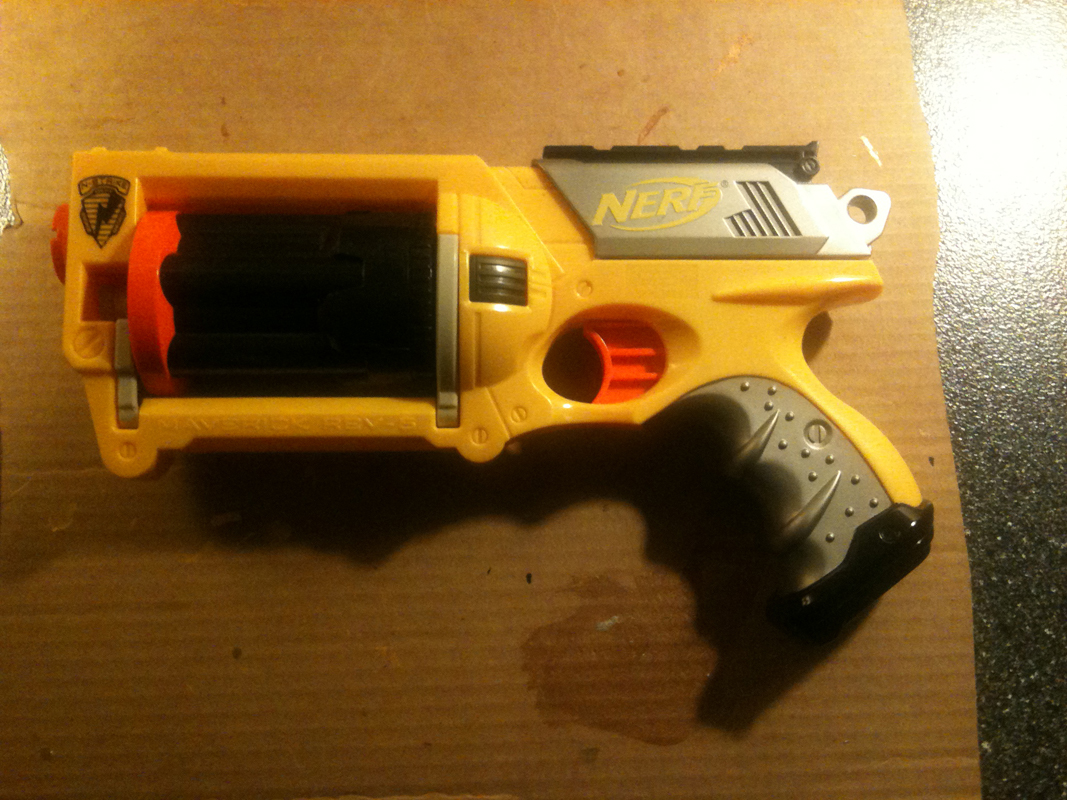
Whoo!
So with that I set off to pull it apart, and begin to prepare the pieces for the first step. I sanded down the main shell of the gun to give it a bit more texture for the paint to stick to and also to remove all the logos and such to it; I also sanded the heck out of the cocking mechanism. In doing all of this as a side-effect, it also gave it more of a combat-worn feel to it.

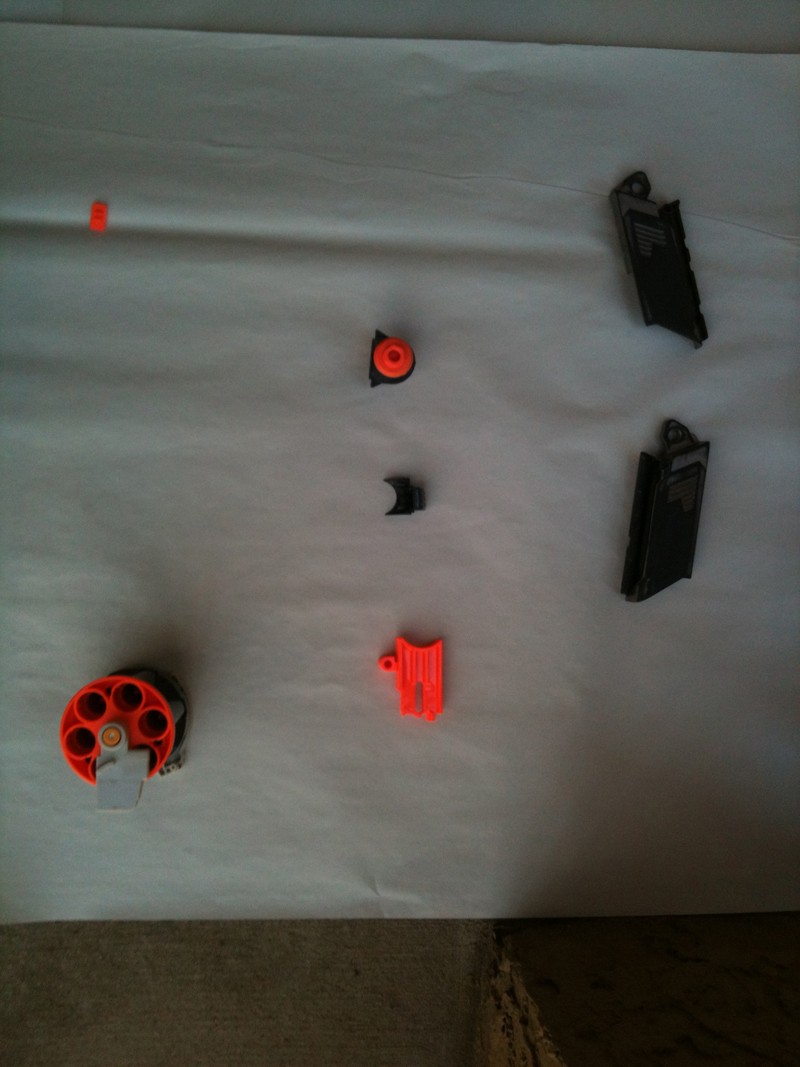
All the parts laid out to be primed after the sanding.
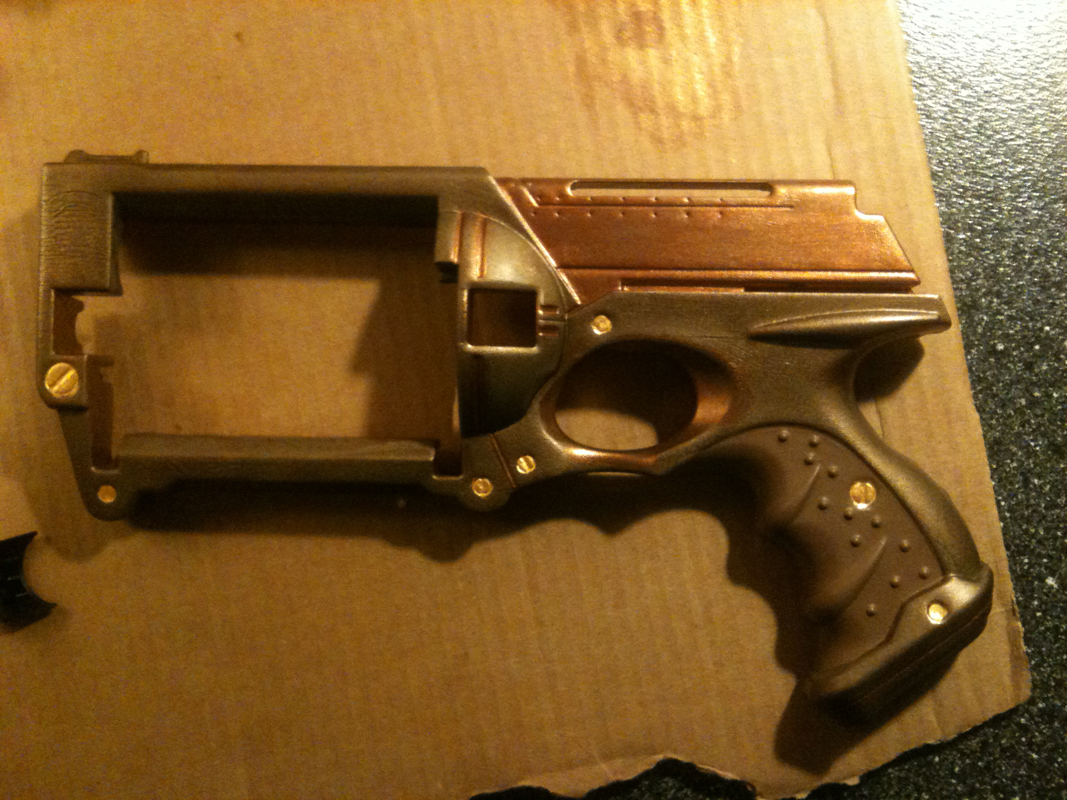
After some fairly extensive research and utterly screwing up a gun later (protip: waiting a week between primer and painting is a terrible idea), I primed it and painted the entire thing a bronze base coat. Now the only parts that got this treatment as you can tell from the below photo is the main shell and the cocking mechanism – the rest I planned on being hand painted instead of spray painted so I would have more control over the process. That and since the other pieces used a glossy plastic, the primer and paint have a very difficult time sticking to it and I didn’t want to sand down those parts since they’re needed for fitting and working correctly once it was all back together.

Gun 2 with the bronze base coat!
The Fine Details
With the main pieces painted the base coat, I needed to add the details that I wanted. Another friend suggested a paint called Formula P3 as the brush paint. So I ventured to a local comic/hobby shop and grabbed some small jars of the colors that I wanted to use. Once I had those and some brushes that I also went and sought out for (I wasn’t kidding about the whole low-painting experience), I began to add the first wave of details.
Well… it has… detail, that counts for something… right?
The Finer Details
At this point, it wasn’t coming out the way I wanted it to; so I slept on it and began the following day to look up some examples and color schemes that would look nice together. I found one that looked nice and I was capable of acquiring the colors to do it. So after another visit to the local comic/hobby shop, I was ready for round 2!

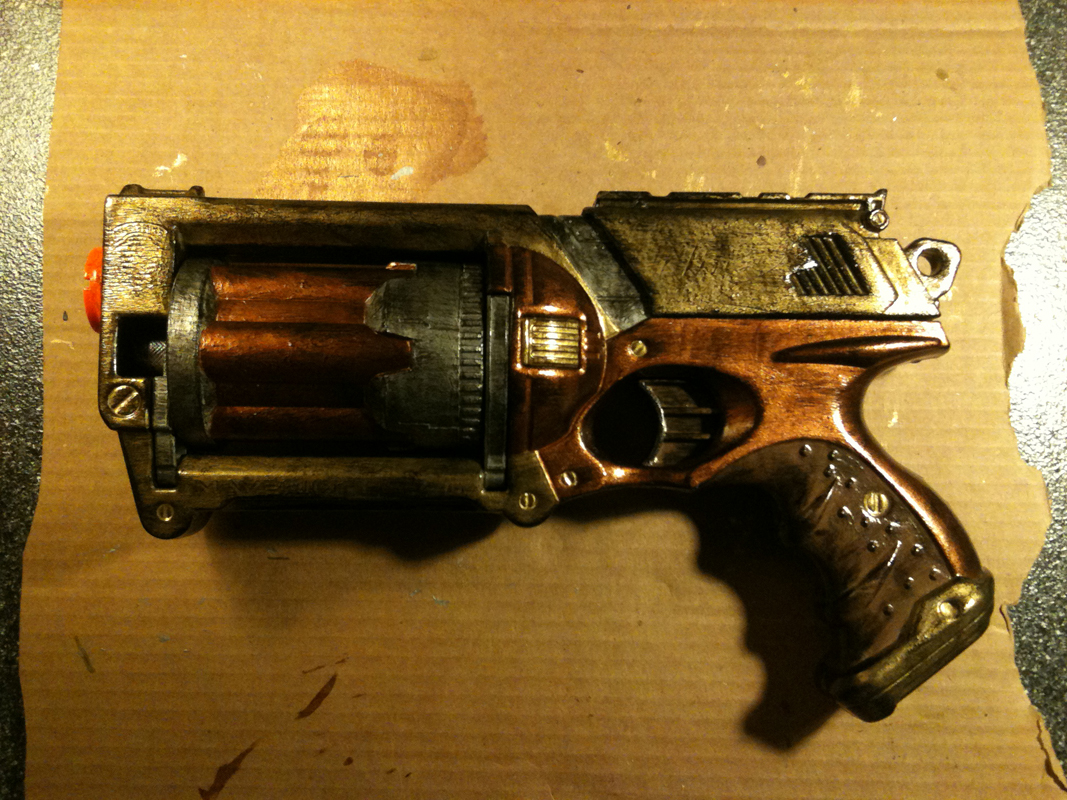
So. Much. Better!
Basically, I repainted the entire shell with the P3 paints leaving the original bronze coat entirely covered up. When I stepped back to analyze what I had done, I was pleased with the results and knew that this secondary base would work out much better. During the drying time of the shell, I went and painted the barrel and the cocking mechanism (I don’t have that photo though).

Do a Barrel Ro–… ah, nevermind.
Some of the smaller parts did get painted then as well to keep using my time wisely; by that point, the shell and cocking mechanism were dry, I decided to assemble it for the heck of it to see what it would look like ultimately. Discovering that the primer was still not totally dry, taking it back apart was a feat in itself and did cause some minor damage to the paint, but was easily repainted shortly thereafter.

For my next trick, taking it apart! Where’s my spatula!?
To resolve that problem, I sanded down all of the pegs on the inside of the shell. This addressed two problems, the seam being too far apart and being stupidly seen, and the ability to take apart and put together the gun itself. Once all of this had dried, it looked too pristine for what I was looking for: it needed to look weathered and have been of use for a while. I did research how to go about doing it and most of the suggestions were not all that great at best, so I went with just taking a broader brush, dipping it into black paint, brushing off a lot of the excess onto a paper towel, and just quickly brushing the black onto the parts to give it the effect I wanted. It worked surprisingly well and I had some slight control over it – if I brushed on too much black, I simply wiped off the excess with my finger.
Clear Coating
This seriously took up some heavy chunk of research time just trying to figure out how to clear coat this. I didn’t want to spray it on, I wanted to paint it on – finally (after some suggestions via internet) I decided upon Minwax Polycrylic Protective Finish in a paint can. The objective now was to paint the barrel before reassembling the entire gun since it would be super difficult to clear coat it once it was reassembled. Once that dried (a day later), I assembled the entire thing minus the cocking mechanism for a similar reason.
Now, before I could continue to clear coat the rest of the body, I needed to paint and weather where the two sides came together in the middle of the gun. So I went and did one last coat of paint at the seam to help it be less visible and then followed up with weathering it to make it look closer to one whole fluid piece instead of two halves. This was mostly successful once it was all said and done.
Voila! Barrel coated and nearly reassembled!
The gun’s tip is still orange since conventions typically require that to be there still. As much as it sounds silly, I don’t want it to be confiscated upon arrival at the convention so I obliged to leave it orange. Now the next step was simple – clear coat the entire freaken thing!
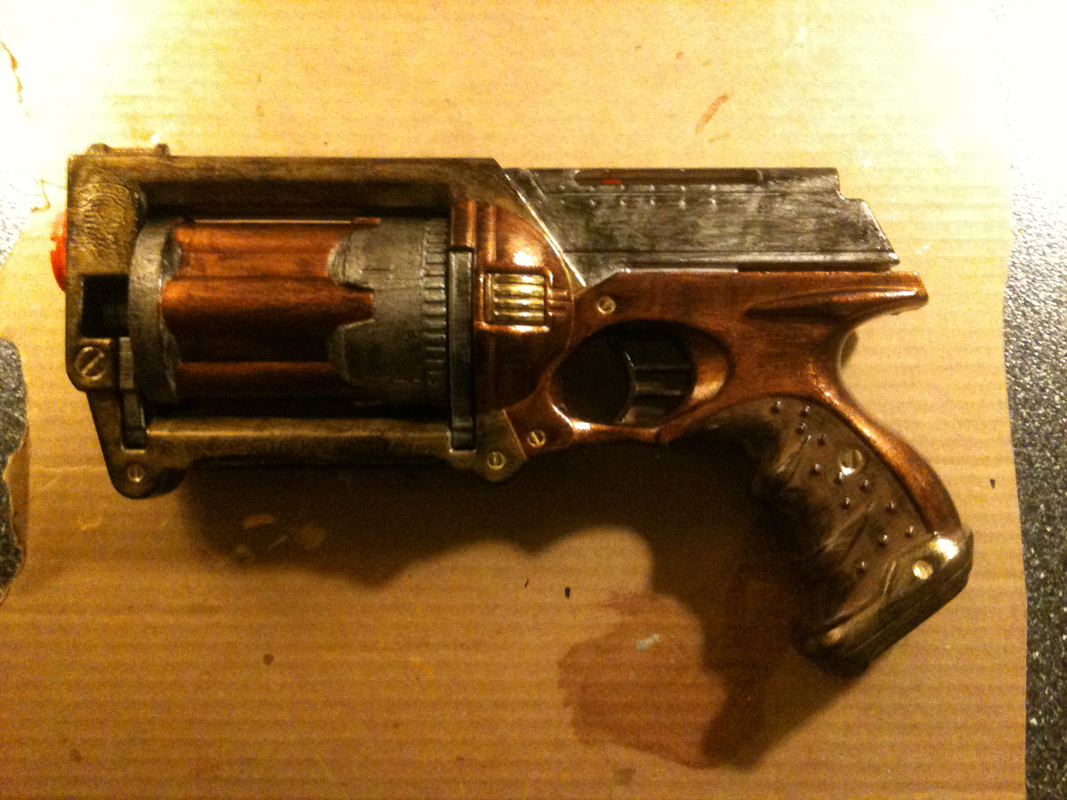
Yes, it’s clear coated – probably a bit hard to tell.
The Last Hurrah
Now for the cocking mechanism. This ended up being a multiphase process with it being weathered after the entire gun was done up to this point. So I weathered it, and did some minor clear coating before setting it aside to wait the day before attaching it to the rest of the gun.
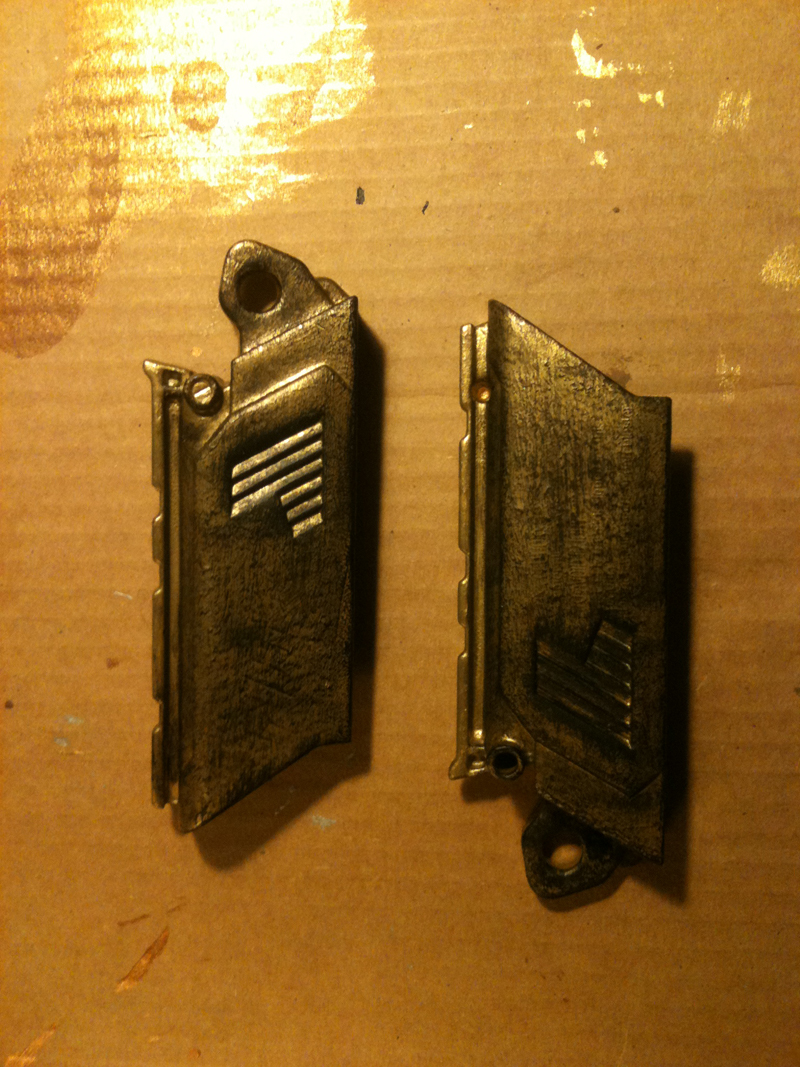
The cocking mechanism, weathered and awaiting to be reattached to the gun itself.
Once that was all done, I reattached it to the gun, painted the seam, and weathered the seam. Once again doing the waiting game for it to dry.

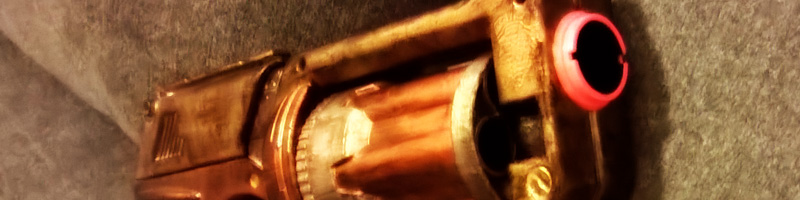
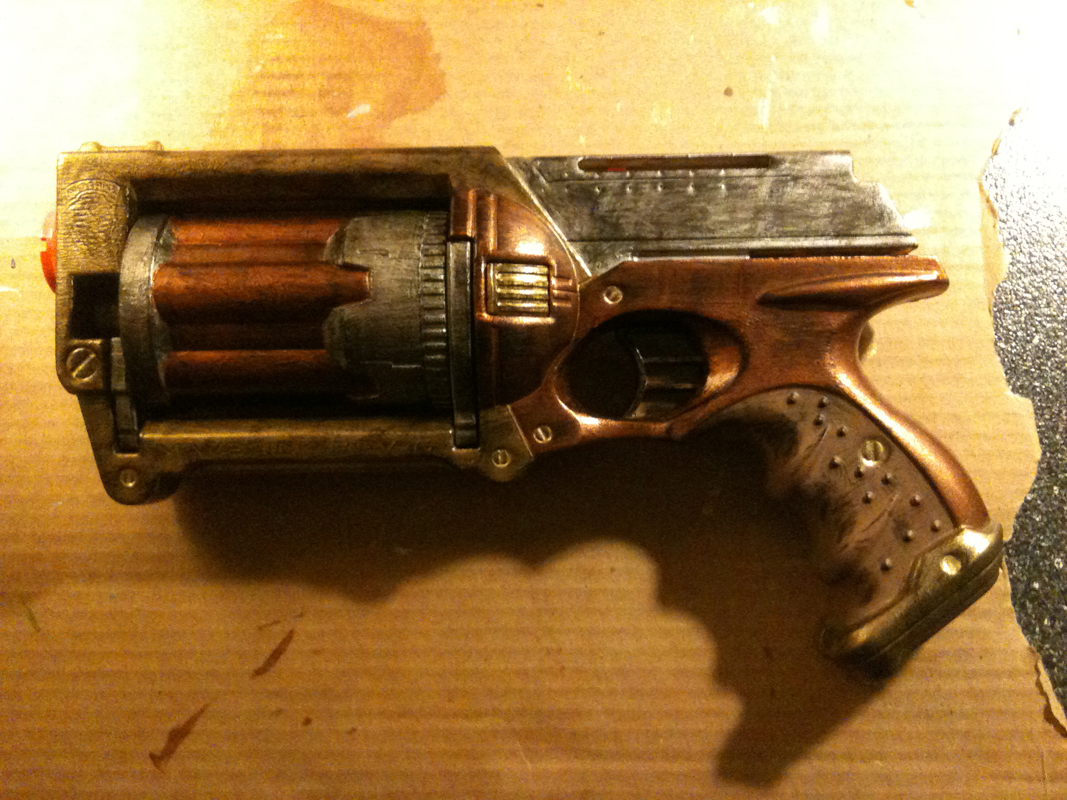
Okay, NOW you can tell what is not clear coated and what is.
Finally, with it being entirely dry, I applied the final clear coat to complete the finishing touches to it! I would post more angles of it, but that will have to wait till the convention! I learned a lot with this project, and am pleased with the final outcome. There are a few things I would do differently if I were to make another one (I would like to down the road, but not anytime soon most likely), like the order of what gets reassembled, better time management, and masking off the seams and pegs on the inside of the shell. It did lose the ability to actually function though, but I did put all of the parts back inside of it for the weight, to keep the barrel from flipping around like crazy, keep the trigger stable, and keep the cocking part from moving around.
Wootness!
So that would be it, my first Steampunk project! The total time could have been radically reduced, but since it was my first time doing something like this, it took much longer than I would have ever expected. That did pay off though as it reduced the amount of mistakes that could have been made if I were to have rushed it.